
- Bilge Pump Float Switch Guide - January 18, 2022
- Best Sand Anchor Options by Boat Type: Our Top Picks! - December 7, 2021
- Cuddy Cabin vs Cabin Cruiser: Breaking Down the Differences - December 2, 2021
A sparkling ocean frames a hull so sweet and true; the lines are perfect and the brightwork glistens, the wake peels of the hull without a murmur. Whether it is a classic cruiser making passage across a deep blue sea or a dayboat out on the bay, we will go through the steps to set your boat up for a perfect paint job.
Hulls have a tough time. They get hammered by floating debris. Sun, salt, and water all do their best to wear away the bright and glossy finish. We won’t talk about those little scuffles with the dock or other boats.
Painting the boat is divided into a couple of areas: the hull below the waterline, the wind and water area, the hull above the waterline, and then the superstructure and the brightwork.
Right so here we go, the boat is ready to come out of the water. Let’s begin.
Planning the Docking
Before the boat comes out of the water, ensure that all the necessary chocks, props, and supports are in place and ready for use. Boats are unstable out of the water, so make sure your supports are correctly sized and that there are sufficient wedges to get the hull secured.
Check that the keel supports are correctly spaced and provide good weight distribution. The weight of the boat is going to be carried primarily by the keel in a compressive state, which is the opposite of when the boat is in the water. The side shores carry little weight beyond stabilizing the hull. Remember that the shores are going to need to be moved to complete the antifouling, so put that into your planning as well.
Give some thought to how you will move the supports once the boat is on the hard so that you can get to all of the hull, especially for applying antifoul.
Spend some time checking the height you want the keel to be off of the ground; too low and you will be working uncomfortably trying to get to the centerline areas of the hull. Too high and you will need a fair amount of scaffold to get to deck level.
Get your power source sorted out; having a reliable source of power available is going to make your life a lot easier. Having an area where you can store tools as well as equipment from the boat is very helpful.
If you can also get a fresh-water supply close to the boat, that will make your repainting project a lot easier, especially if you have a high-pressure washer available.
Is everything ready? It is time to do a quick check around the boat. If you are using slings to get the boat out of the water, make sure you have identified the position of each sling. Have short ties ready to secure the sling correctly.
Stow all loose equipment away and ensure nothing can fall around when the boat leaves the water. It is a nervous time, and loud bangs are not what you need when the boat is being lifted.
It is a good idea to empty tanks before docking but before you do, remember to clearly mark your waterline so that the new paintwork will accurately reflect the position of the hull in the water. There is nothing that can ruin a fantastic paint job quite as well as a waterline that deviates from the horizontal.
The day arrives and the boat is ready to come out of the water. Hopefully, you have organized your power and water supply and everything is ready for the lift. Blocks and shores are in place and without any problems, the boat is secure. What’s next?
First Inspection
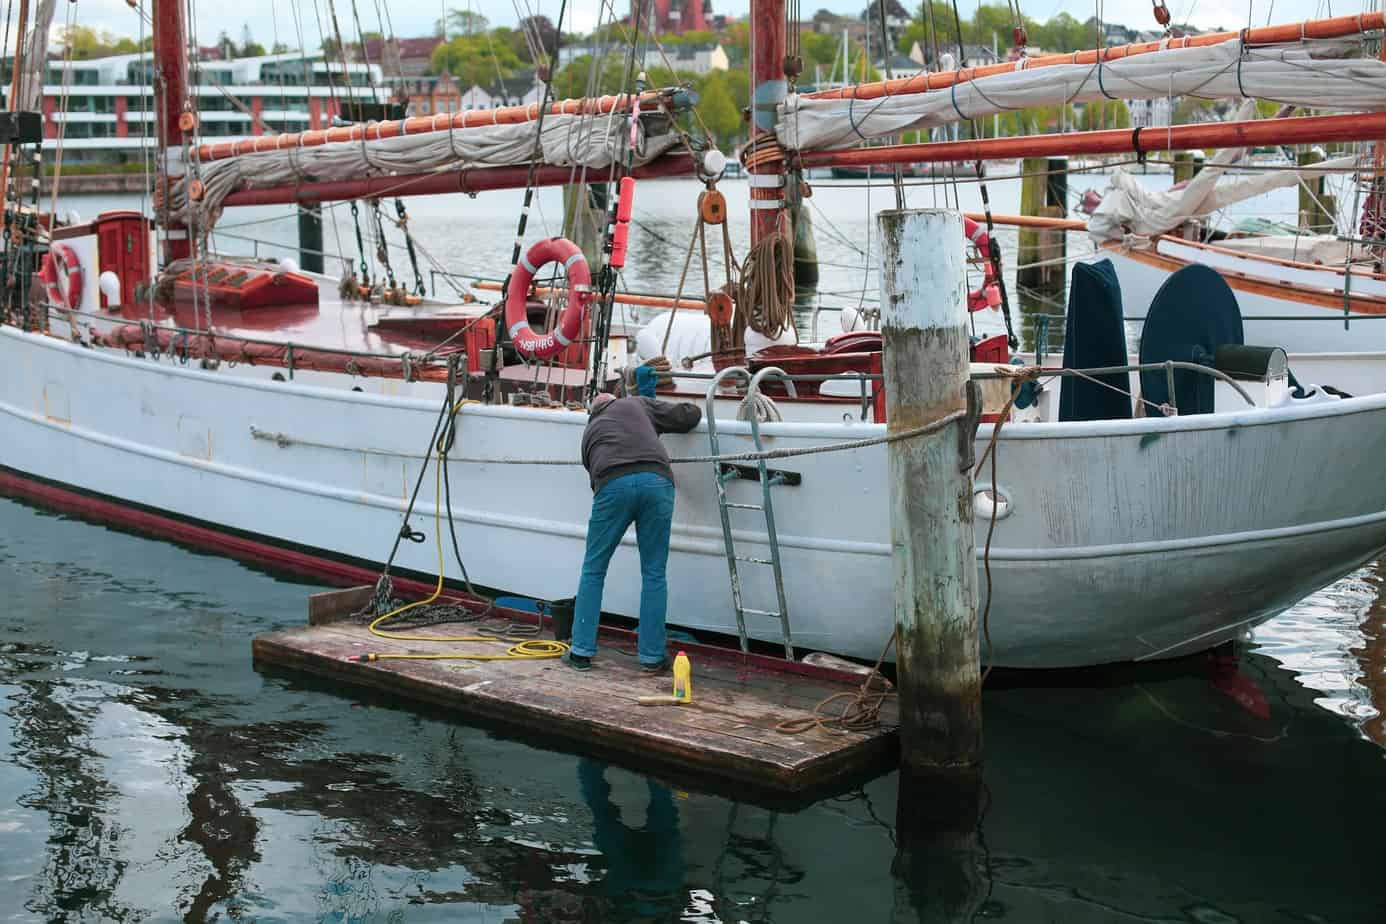
Grab a small paint scraper and take a slow walk around the boat. Although not strictly part of the paint job, it is always good to check around the through-hull fittings, the rudder stock, and the shaft and propellor/s. We are going to focus on the paint.
Depending on the time the boat has spent in the water, it may need scraping down to remove the marine growth and then a thorough cleaning using the high-pressure washer. Always use a fan-shaped spray and never a needle-point spray; high-pressure washers can cause considerable damage and it is far better to take a little extra time and be gentle with the washing.
The sooner you can get the hull cleaned up, the easier it will be. Leave the growth to dry out on the hull for a couple of days and you will regret the procrastination.
Dealing with Antifoul Painted Areas
Scraping away the more tenacious marine growth like barnacles is best done when the boat is out of the water. Have a close look at the through-hull fittings to check that they are not blocked by marine growth; this is especially important if the through-hull fitting has a strainer. Lurking behind anodes is another favorite hiding spot for sea creatures.
With your scraper, check the areas where the paint has flaked and scrape away the loose paint. Check for blisters and if found, open them so that they can dry out; this is just a preliminary check so sticking a piece of adhesive tape next to the troublespots is a good reminder when the serious work begins.
A timeous safety warning. Antifouling is not something to be ingested, inhaled, or generally messed about with. Wear goggles, gloves, mask, and if you are going to get up close to it, a disposable overall. The dust from antifouling is not what you want to find inside your lungs.
Do spend a good couple of hours inspecting the boat; planning the repaint will depend on an accurate assessment of the scope of the repairs. You don’t want to stop applying antifoul because you missed some blisters in your initial inspection.
Once you have thoroughly checked over the entire hull, it is time to get the high-pressure washer up and running and clean the hull. Remember to keep electrical fittings away from the area as the high-pressure cleaning spray may cause some electrical supply problems.
The high-pressure washing should’ve taken most of the loose stuff off and the hull should be fairly clean and ready for a light sanding down. I have always found that scouring pads (the kitchen ones) work well on old antifouling surfaces. Use them by wetting the surface and the pad, so that there is no threat of antifouling dust.
If you do find some blisters or sections where the hull has been damaged, mark these up with some adhesive tape so you’ll be able to fix them when you get to that stage.
Now we are going to turn our attention to the topsides.
Preparing the Topsides for Painting
Hopefully, you have carefully marked the waterline. Although we are not going to tape it right now, you must have a good idea about where it is. The wind and waterline is always the area of the boat that suffers the most damage. Floating debris scuffs against it, and it is constantly exposed to waves and UV radiation; it is an excellent idea to provide substantial protection to this area.
My advice would be to ensure that the topside coats extend to below the waterline and once the topcoats are completed, bring the antifouling up to just above the waterline. Normally, you would apply a boot topping to this area before antifouling and that always provides a little more protection.
The wind and waterline area is also the one most likely to need a little filling here and there. First of all, the topsides need to be sanded down and in many instances, a little fairing is also called for to repair the irregularities in the hull.
A little electrical help will make your life easier, but before you start your sander, do take the time to fit your safety equipment. Wear goggles and a mask and generally, I would also advise wearing gloves- the long type up to your elbows and overalls.
What Type of Sander Is the Most Effective?
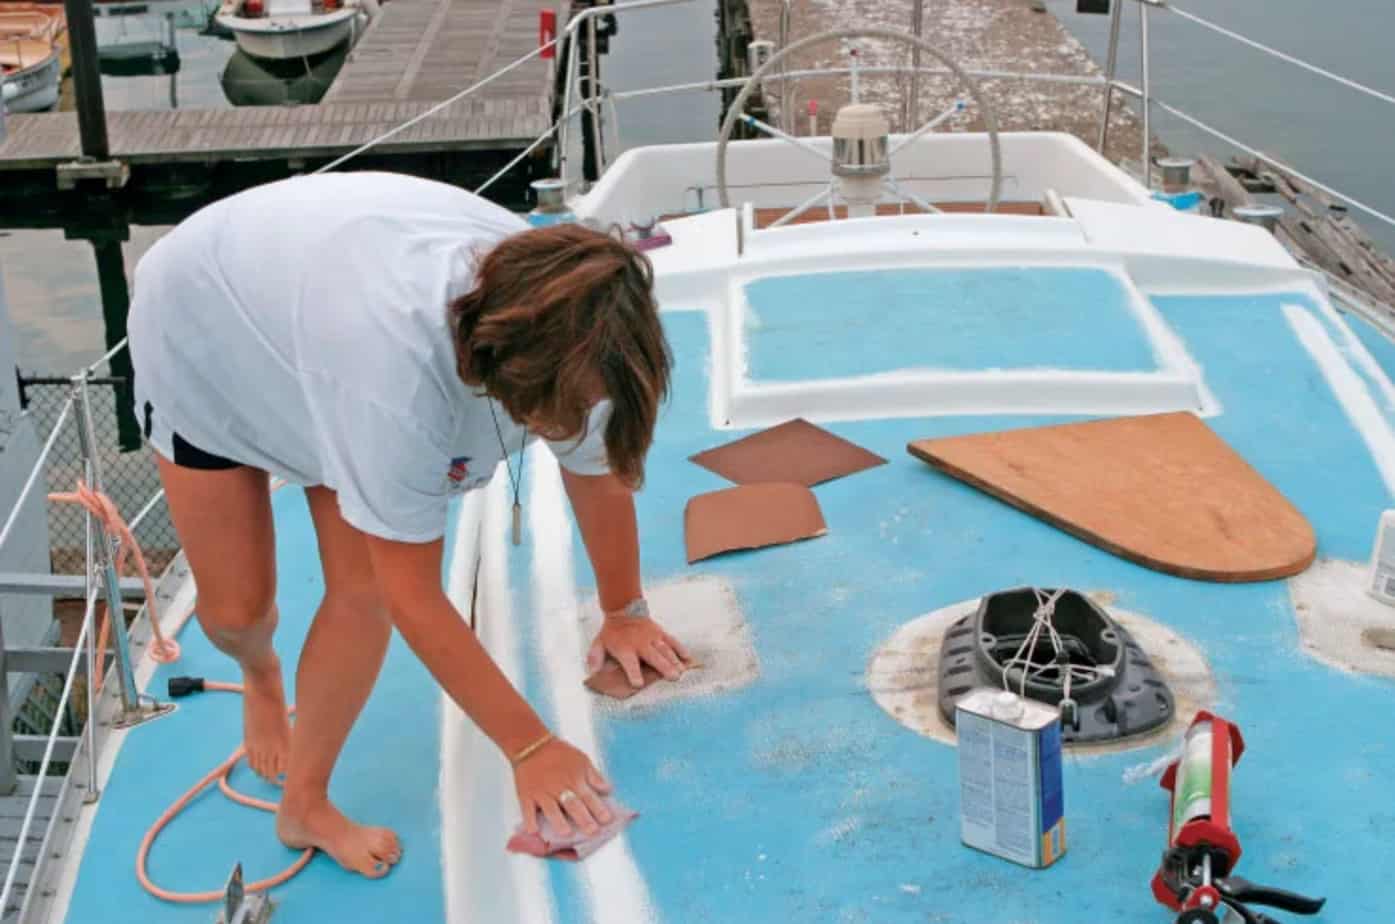
Let’s start with the type of sandpaper you are going to need. It will save you a lot of time to select the correct type of sandpaper for the job. For sanding in dry conditions, you will require an aluminum oxide grit and if you are going to do some sanding together with water, you will need a waterproof silicon carbide type sandpaper.
Either type of sandpaper is available in a wide range of grit sizes. The lower the grit size number, the coarser the individual particles of abrasive. A forty grit paper is a lot coarser than a hundred grit and so on. American grit is measured using a CAMI scale (Coated Abrasive Manufacturers Industry), while the European manufactured abrasive will have a ‘P’ alongside the grit number. For the normal range of grit sizes, the two scales are almost identical and it is only as we get to the larger grit sizes, such as CAMI 400, which corresponds to the European P 600 or P 800, that they differ.
The sander of choice for preparing the topsides is normally the orbital sander. They are light, relatively cheap, and easy to use. They have a rectangular flatbed that is good for flattening small imperfections in the hull.
An alternative is the random orbital sander which has the advantage of a rotary action combined with the orbital feature.
In some instances, a belt sander can be useful, but it has severe limitations and should only be used if you are really skilled and confident in using this type of sander. Belt sanders have a rapid rate of stock removal and can cause significant damage in a surprisingly short space of time.
Preparing the topsides for painting both the orbital and the random orbital sander are good choices, but if your hull has imperfections of a significant nature, they will have limited success. I’m afraid the bad news is that to get large imperfections sorted out, you will require a sanding board, which means manual sanding.
Assuming your hull is true and there are no significant imperfections, we can happily continue with either sander; if your sander can be fitted with a vacuum pipe, that makes the job much safer and a lot more comfortable. Many modern sanders have fairly sophisticated systems to hold the dust in a bag and most orbital sanders are supplied with a jig to punch holes in the sandpaper to allow for automatic collection of sanding dust. You can also buy pre-punched sandpaper.
Sanding is a monotonous task. It is also one of those tasks that only the imperfections are seen no matter how well it is done. You have to adopt a zero-tolerance attitude and breaking the job down into manageable blocks is a good way of ensuring a perfect result. I would suggest that you mark off an area that you can safely prepare in an hour. Get it perfect, have a break and then move on to the next section.
While sanding the hull, it is a good idea to stop from time to time and wipe down the area you have just sanded. Any areas that are still glossy are spots that may require a little fairing so pay attention to that. There is a wide selection of fairing compounds available so shop around for the one that suits your needs.
Fairing Compound and Spot Filler
Remember the little blisters you opened up below the waterline area? Cleaning these blisters out and applying a primer to them may be good timing now, so that you can apply fairing compound to them as you do the topsides.
Pay attention to the curing time of the fairing compound. Trying to sand down a fairing compound that is not properly cured will only clog up the sandpaper. Once the fairing has been sanded down using an orbital sander, it is good practice to do a final sanding by hand using a block of wood as a backing pad with 360 grit or higher water paper; this will provide a nice smooth and flat finish.
End off the sanding phase with a slow inspection of the hull. Check that you have filled all the imperfections.
The hull will need to be washed down again, so once it is all clean, be meticulous about checking that you have attended to all the little blemishes. When you are happy that the hull is perfect, consult your weather app and hope for a couple of sunny and almost wind-free days ahead. What you are looking for is humidity less than sixty percent and a temperature range between seventy to eighty degrees Fahrenheit-it is time to paint.
Making the Topsides New

Painting the topsides can be done using a brush or a spray gun. I have used both methods and spraying works far better. The process is quicker, but, more importantly, the finish is so much better.
Masking off is common to both processes, although spraying is going to involve a lot more masking off. For either process, you are going to need to mask off the toerail. Despite the fact that you are going to be ripping the masking tape off in a couple of days, do take good care of applying it correctly. There are many types of masking tape available, so shop around for the one that suits you. Remember that they do have a lifespan and, if left on the hull for too long, they are difficult to remove and may damage the paintwork.
The Various Paint Options
Scroll through any marine paint website and you will be bombarded with a plethora of paint manufacturers all offering the best paint for your hull. Your most important guide is to find out what paint is on the hull because that will determine the appropriate paint you will use.
Painting your boat is an exercise in patience. One coat is not going to do it and generally, the more coats that are applied, the better. Be vigilant regarding the health warnings for the various paints and solvents. Masks and gloves are pretty much standard protection requirements and should be followed.
There is an old adage on boats: ‘ Bad access creates bad maintenance’ -with painting, this is certainly true. Ensure you have got good access all around the hull and nowhere that requires you to stretch uncomfortably.
Step one is applying the primer. Go around the hull, applying spot primer to all the areas where you have faired. You need to have a good covering coat on the fairing compound to ensure a strong chemical bond between the fairing and the topcoat.
If you have a friendly helper, the job is a lot easier adopting the ‘roll and tip’ method of painting. You can also use this method on your own, but it will be considerably slower. The advantage of this system is that you can accomplish an excellent finish without any brush marks.
Before you use the roller, wrap the roller with masking tape and then pull the tape off; this will remove all the little loose pieces of material lurking in the pile of the roller.
Applying Primer
The application of the primer is good practice for the application of the topcoats. You will, however, have to lightly sand down the hull again, but now I would recommend that you use water paper for two reasons; you will use far less abrasive materials and the water paper will give you a smoother surface. The correct grit of water paper to use will depend on the type of paint you have chosen and the manufacture will provide recommendations regarding the correct grit.
Cleaning the hull after sanding down is critical for correct bonding and again, pay special attention to the paint manufacturer’s specifications regarding the correct cleaning material to be used.
Applying Topcoats
With the hull cleaned up, you can now begin to apply the topcoats using the same ‘roll and tip’ method. Make sure that your brush strokes end on the masking and not on the hull itself; this will ensure minimal brush stroke visibility. You may get away with two coats of topcoat, but three will be far better.
Depending on the type of paint you are using, it is often possible to overcoat as soon as you have completed the previous coat. Simply go around the boat again.
As soon as the paint has dried off sufficiently, remove the masking tape. Stand back and admire your handiwork by walking around the hull- I hope this brings a satisfied smile to your face.
Before you stick the masking tape on for the waterline make sure you have given the topcoat sufficient time to harden.
Painting the Boat Using a Spray Gun
If you are going to use a spray gun, then your masking up is going to involve a few more items. The most important one is that you are going to have to deal with a large amount of overspray- overspray not only on your boat but on any other boat in close proximity.
You can reduce the overspray danger by ensuring that you always spray in the horizontal position. The area you are painting is never higher than the spray gun.
Be considerate towards your neighboring boats. Getting overspray off other boats is a difficult job and is not going to win you many friends. Ensure you have made proper plans to prevent any damage to other boats. Skilled spray painters will adjust the pressure to just enough to produce atomization of the paint. Higher pressure simply wastes a huge amount of paint.
Masking up to spray your boat will normally call for protection of the superstructure with plastic sheets. If the boat is fitted with stanchions, masking along these and using the safety lines as a washing line to attach appropriate sheeting will go a long way in preventing overspray reaching the deck and superstructure.
If you are using a borrowed trailer for the boat to sit on, you may also have to mask that up. I never mask up the waterline of boats because the antifoul is going to be brought up to the waterline and a boot topping will also finish off the waterline.
When applying the primer coats, start with covering the faired areas first and once they are all adequately covered, you can begin painting the hull. I’m not sure why but I like to start painting from the transom and then make my way forward, but that is just a personal preference and it really does depend on the wind direction.
Be mindful of the wind direction when you spray. You want to spray with the wind so that you cover and overspray with wet paint. Allowing overspray to adhere to recently painted surfaces is going to give you a disappointing rough finish.
The sanding down between coats and the cleaning of the hull is the same as for the brush painting sequence. Spray paint coatings generally dry a little quicker than the ‘roll and tip’ coats because of the solvent used to thin the paint to get it through the spray gun.
The great danger with spray painting is getting a little too enthusiastic and delivering too much paint too quickly, resulting in runs. No matter how hard you try, you are not going to hide a run, so the best practice is to take it slow and rather build up the coats.
It is good practice to apply three coats to ensure adequate coverage. Once the topcoat is dry and hardened sufficiently, it is time to remove the masking.
The paint should have a high gloss, and you should be able to see your wide smile in the reflection. Well done.
Rolling on the Anti Foul
The topsides are bright and shiny, so now we focus on getting the bottom painted. Hopefully, you have spot filled all the minor dents and scratches so what is now required is a good clean of the area.
If there are any areas where the filler has been exposed, these need to be primed and once they are dry, we can begin with applying the antifoul.
Begin the process with a brush to get to the more difficult areas and then use a roller to apply an even coat of antifoul. Overcoating times will depend on weather conditions and the specifications of the paint manufacturer.
A new coat of antifoul does wonders to the appearance of the boat. The waterline becomes sharp and clear and the bottom is sparkling clean. The boat looks almost ready for the water.
Congratulate yourself on making plans to have replacement shores so you can apply antifoul to the whole area. Boatyards are a little averse to holding the boat up in the air while you splash on antifoul. Furthermore, there is never sufficient drying time prior to the boat touching down in the water again for the antifoul to cure properly.
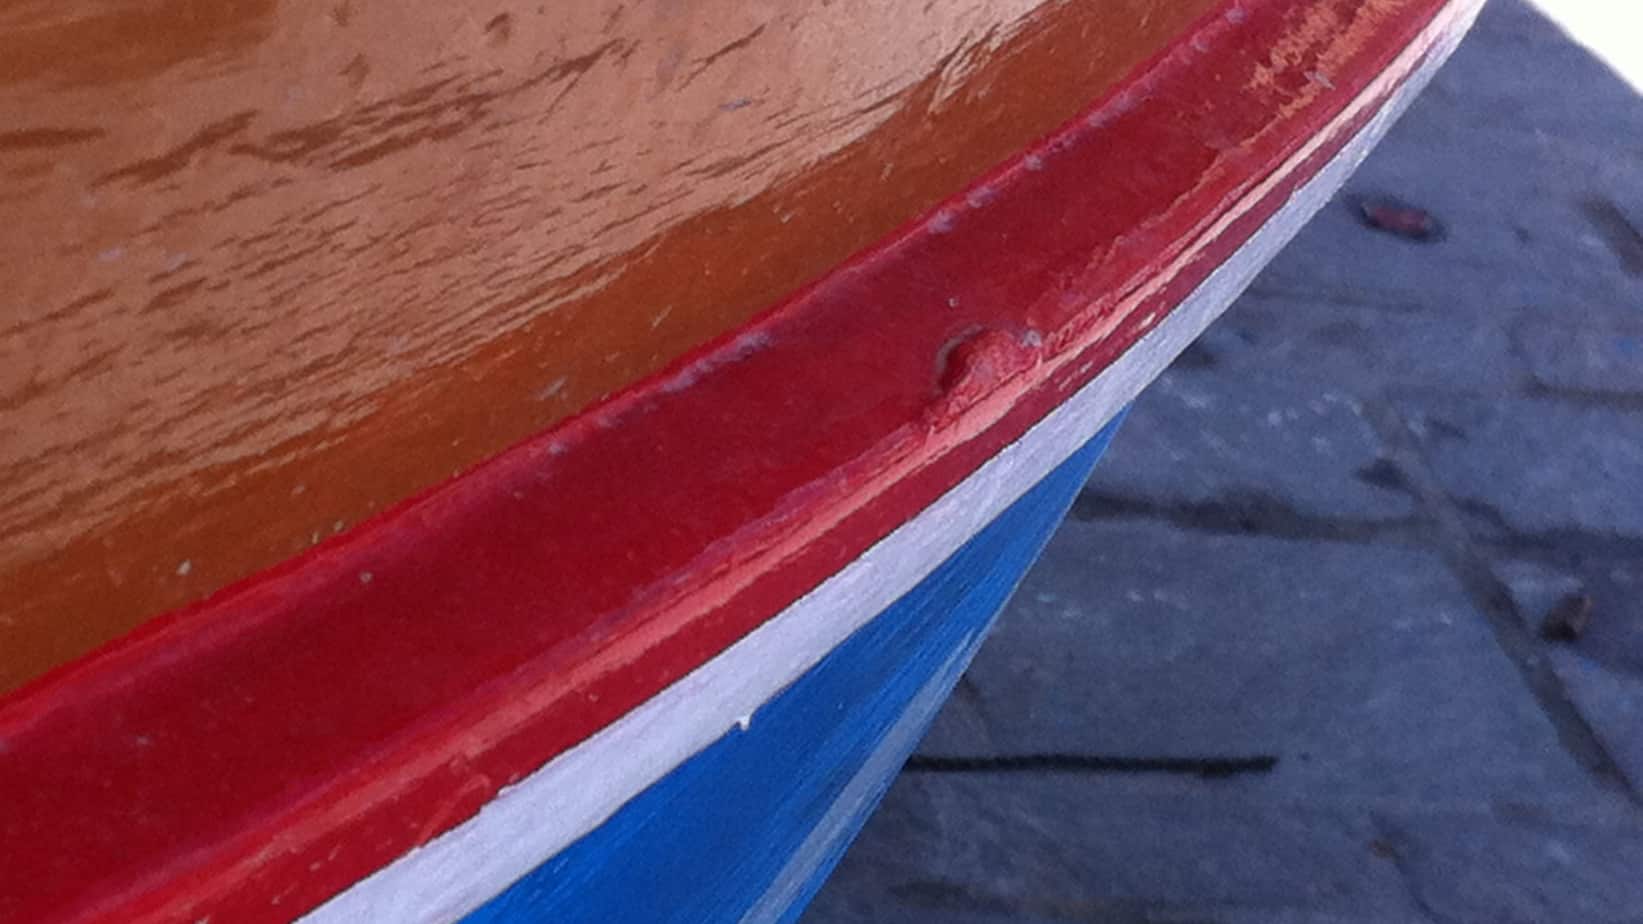
The Final Touches
By now, your hull is in showroom condition. What is left to do? A smart boot topping to accentuate the fine lines of the hull and the name and port of registry. Unless you have a fair amount of experience, I always found it easier to get the signmakers to stick the names on. If you are going to get stick-on stripes, then definitely get the suppliers to attach them. They can do it with their eyes closed.
And now you are ready to put the yacht back in the water. In all the excitement, please make sure that you take the necessary precautions to protect your new paintwork from being damaged by slings or hoists.
Be sure to check your seacocks are clear and your anodes are in good condition and securely fixed. Check your rudder is free and your propellers are in perfect condition. Be aware that the stuffing boxes may have dried out a little while being docked. Check that the batteries are fully charged.
All done? I wish you a wonderful season of happy boating.
FAQ’s
Answer: Advantages of the Roller and Tip method:
• Roller and tip is a much cheaper method because there is no need to buy expensive equipment like compressors and spray guns.
• You can save on a substantial amount of masking material using the roller and tip method.
• The roller and tip method is going to result in a thicker coating of paint on the hull.
• There is no overspray; consequently, little paint wastage and no danger to nearby boats.
Advantages of using a Spray gun:
• Generally, the final finish of a spray gun applied coating is superior to a roller and tip application.
• Applying paint using a spray gun is considerably faster; this advantage becomes more significant as the size of the hull increases.
• Painting can be carried out by a single person; roller and tip are much easier when done by two people.
Answer: Given a chance, it is always better to paint your boat indoors. Indoors takes away so much of the guesswork. You have control over the weather and lighting and, to some degree, temperature.
Indoor facilities for painting boats are somewhat limited and as the size of the boat increases, the availability of suitable sheds decreases. Hiring suitable facilities are going to add costs to your repair program.
Another option is to construct a greenhouse-type structure over the boat; this will keep the weather away, but you will have to install a ventilation system to accommodate the fumes and dust associated with painting.
Having your boat indoors for painting the topsides will give you a good advantage, particularly if you are spray painting your boat. The application of antifoul can be safely done outside, so to save costs, only use an indoor facility for spraying the topsides and superstructure.
Answer: The size of the boat does play a role in the duration of the repainting, so if you can judge how much time it will take for each process, you can accurately estimate the time your boat will spend on the hard.
• Always allow for an extra day between the different operations; this will give you the opportunity to attend to the little surprises that always crop up when the boat comes out of the water.
• A general idea of the time to repaint a boat here is a program to repaint an 18 ft hull that was last painted two years ago.
• Day One-Docking and shoring: Arranging equipment and sorting out power and water supply. Inspecting Hull
• Day Two-Scraping and high-pressure washing hull: Removing anodes, cleaning antifoul with scourers, removing loose antifouling and marking up for spot filler.
• Day Three-Sanding topsides Portside: Applying filler as required, masking up toe rail, applying filler below the waterline as required.
• Day Four-Sanding topsides Starboard: Applying filler as required, masking up toe rail, applying filler below the waterline as required.
• Day Five: Sand down filler areas and apply primer.
• Day Six: Apply two coats of topcoat-if spray painting; you may be able to apply three coats.
• Day Seven: Apply final topcoat if using roller and tip method. Prime filler areas below waterline
• Day Eight: Remove masking, tape up waterline and clean anti foul and sand down spot filler areas. Apply first coat of antifoul. Depending on the specifications of antifoul, you may be able to apply a second coat of antifoul.
• Day Nine: Remove masking and apply boot topping if desired. Get the name and registry details attached and complete the final inspection prior to returning to the water. Clean up the area and pack away tools and equipment.
• Day Ten-Launch: For the rest of the day, acknowledge compliments from passing boats on the great paint job.
Conclusion
There is a romance about boats- the dull and slightly damaged hull lurking silently. Beckoning for attention and growing tired of excuses and delays. With a little planning and forethought, the repainting of the boat need not be a nightmare to be feared and avoided. Yes, there are difficult tasks to complete, and crawling under the hull scraping indignant sealife away is not the most comfortable pastime.
But there is an immense sense of satisfaction as the new and gleaming hull touches the water once again. It is that magic moment that washes away all those hours of sanding down, fairing and filling. When aching muscles strained to finish the last remaining section. Suddenly it was all worthwhile as gentle ripples lap against the sparkling waterline, like a model that leaves a breathless audience in her wake as she exits the catwalk.
Looking for more interesting readings? Check out: